How to Self-Publish Your Book
A friendly, no-nonsense guide for first-time authors (and those ready for round two). Everything you need to go from finished manuscript to published book.
Updated for 2026Self-publishing has never been more accessible — or more rewarding. Whether you've just typed "The End" on your first novel or you're a nonfiction author with expertise to share, you can get a professional-quality book into readers' hands without waiting for a traditional publisher to say yes.
But here's the thing: accessible doesn't mean easy. There are real steps involved, real decisions to make, and real money to budget. This guide walks you through the entire process — honestly, clearly, and without trying to sell you anything you don't need. Some steps you can do yourself. Others you might want help with. We'll tell you which is which.
Let's get into it.
Finish & Polish Your Manuscript
Before you think about platforms or marketing, you need a finished manuscript. That said, it's not too early to start researching cover designers — good ones can be booked out months in advance, so getting on their schedule while you're still writing is smart planning. Just don't let cover shopping become a procrastination tool. Get the words down first.
Once you have a complete draft, do at least one thorough self-edit pass. Read the whole thing out loud if you can — you'll catch awkward phrasing, repetition, and pacing issues that your eyes will skip over on screen. For nonfiction, check that your argument flows logically and that each chapter delivers on what you promised. For fiction, look at pacing, consistency, and whether your ending earns its payoff.
Put your manuscript away for at least two weeks before your self-edit. Fresh eyes — even your own — catch far more problems than tired ones. Use that time to start researching the steps below.
Free tools like Grammarly or ProWritingAid can help with surface-level issues during this phase, but they're no substitute for professional editing (that's next).
Hire a Professional Editor
This is the step most self-published authors either skip or underinvest in — and it's the one that makes the biggest difference. Readers can forgive a lot, but sloppy writing, plot holes, or confusing structure will cost you reviews and credibility fast.
There are different levels of editing, and you don't necessarily need all of them. Here's a quick breakdown:
Developmental editing looks at the big picture — structure, pacing, character arcs (fiction), argument flow and organization (nonfiction). This is ideal if you're a first-time author or if you've gotten feedback that "something feels off" but can't pinpoint what. Expect to pay around $2,000–$4,500 for a standard-length book.
Copy editing tackles sentence-level clarity, grammar, consistency, and style. This is the bread-and-butter edit that every book should get. Typical rates run $0.02–$0.05 per word.
Proofreading is the final polish — catching typos, formatting errors, and anything the copy editor missed. Budget around $750–$1,500.
Fiction authors benefit most from developmental editing when it's their first book or first in a new genre. Nonfiction authors often need a developmental edit to make sure their expertise translates into a structure that readers can follow. Both should always get at least a copy edit and proofread.
Where to find editors: Reedsy has a vetted marketplace. The Editorial Freelancers Association maintains a directory. Ask for sample edits before committing — most reputable editors will do a few pages free so you can check the fit.
Good editors book up months in advance. Start looking for an editor before your manuscript is finished. Ideally, reach out three to four months ahead of when you'll need them.
Know Your Reader (Before You Design Anything)
This step often gets skipped, but it shapes everything that follows — your cover design, your book description, your pricing, and your marketing. Take time to get clear on who your ideal reader is.
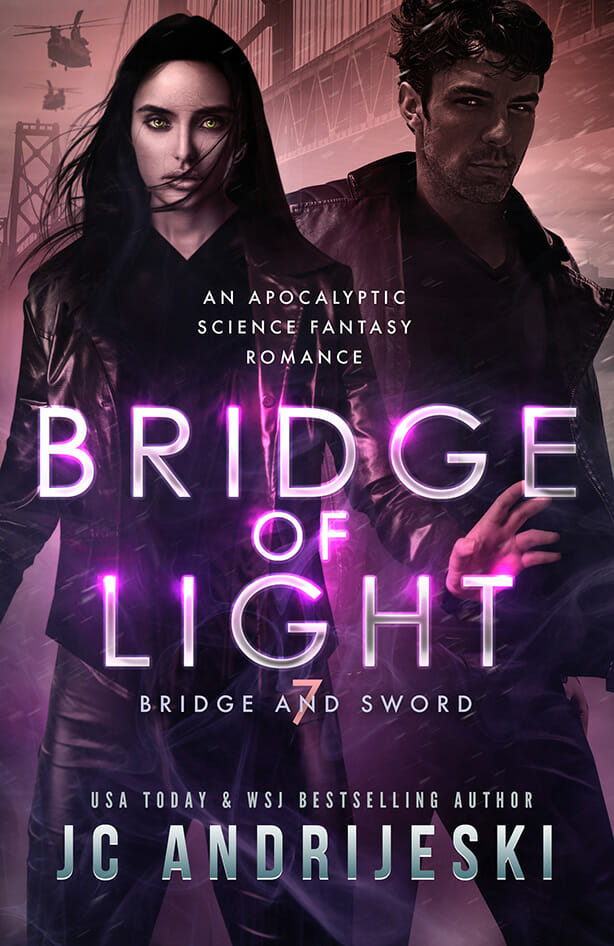
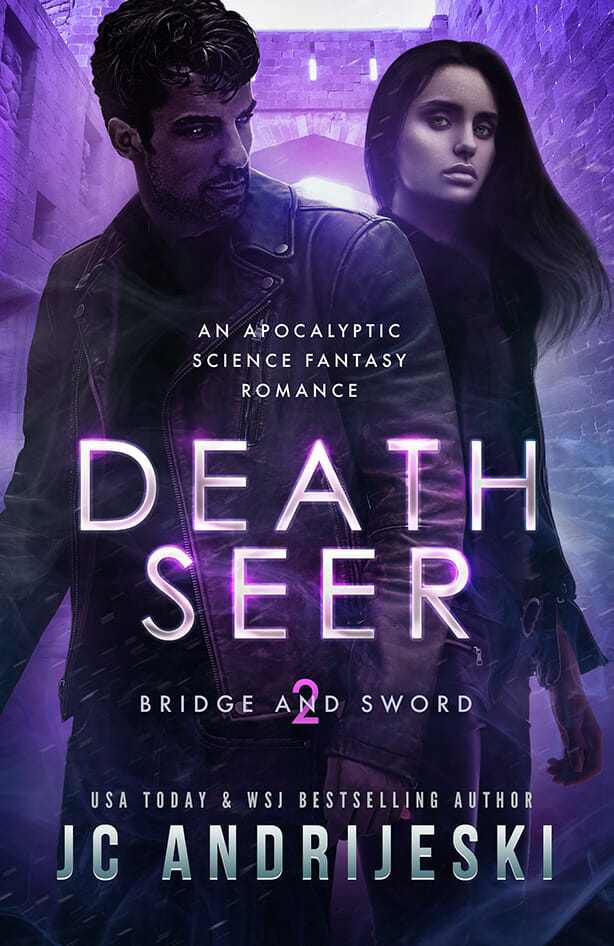
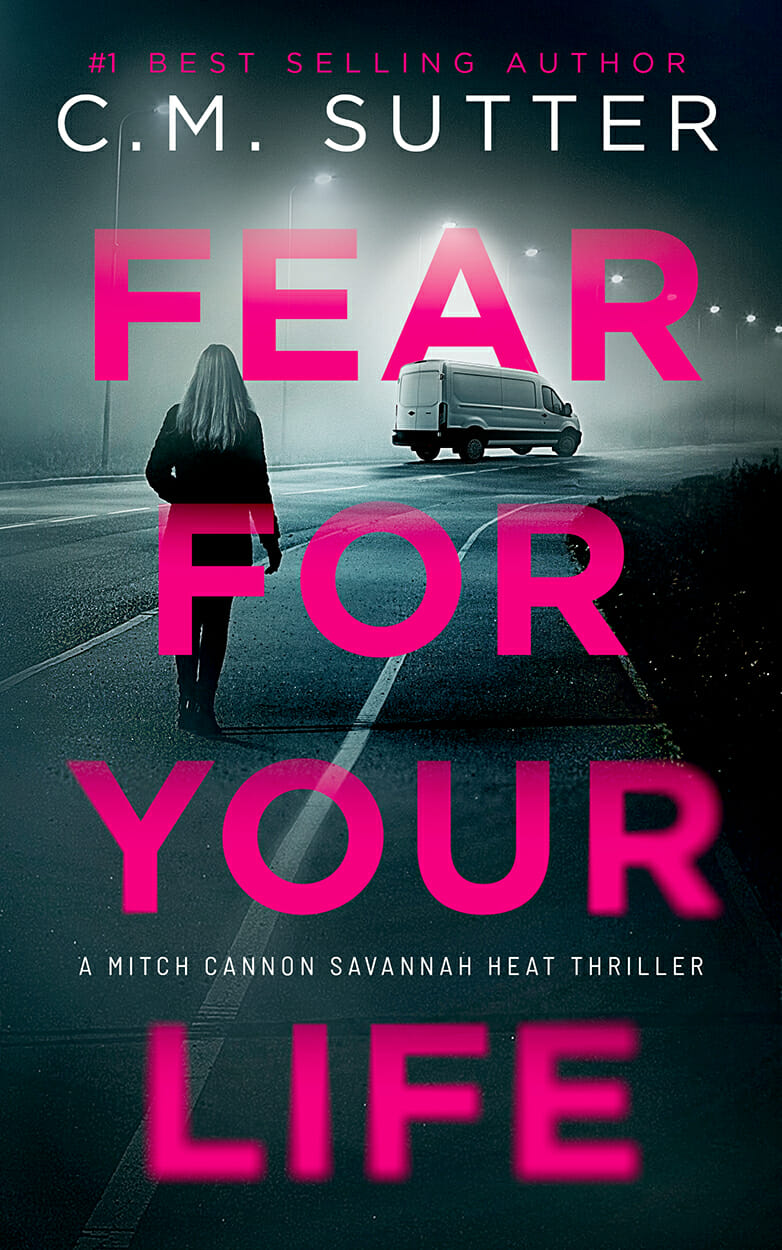
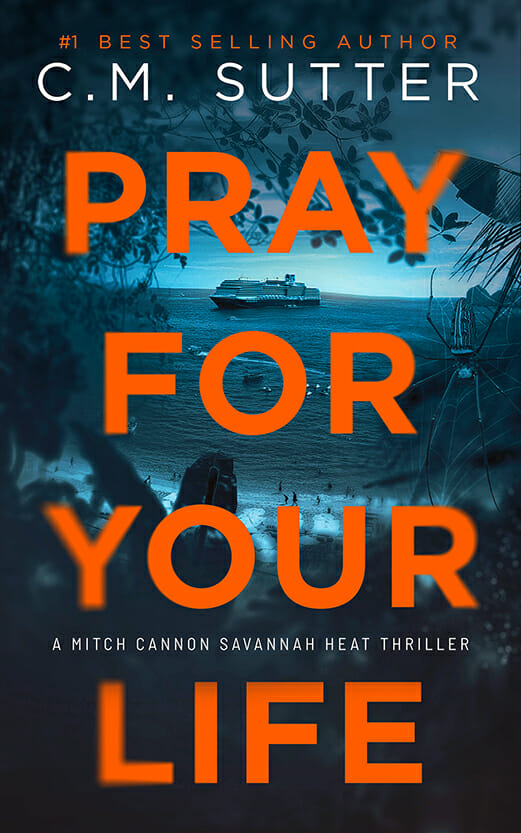
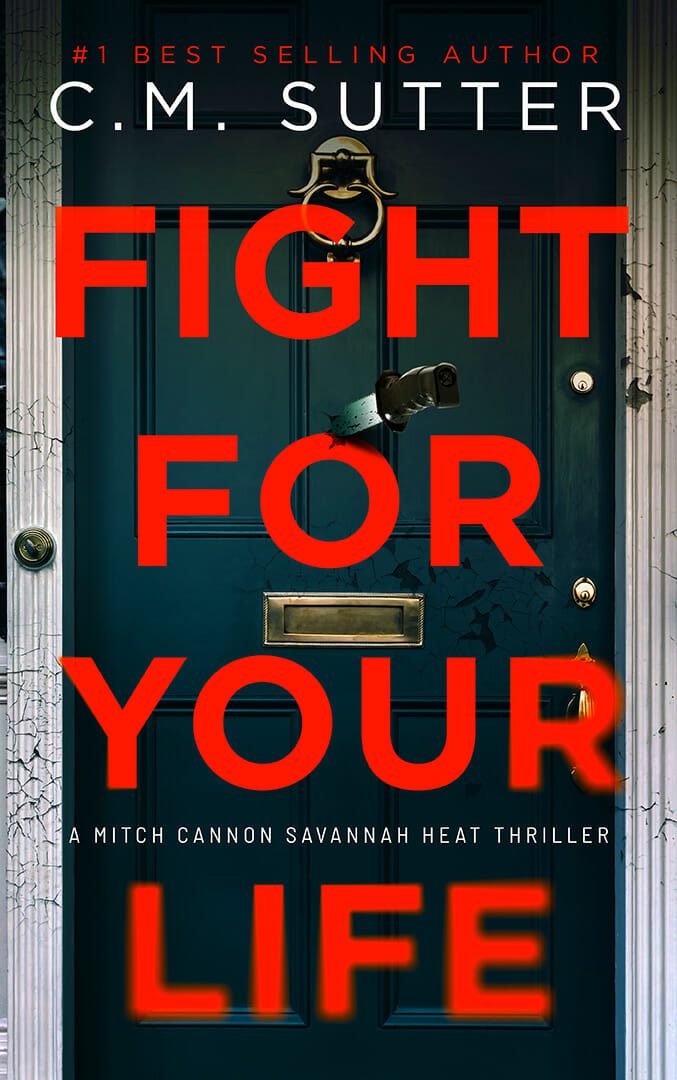
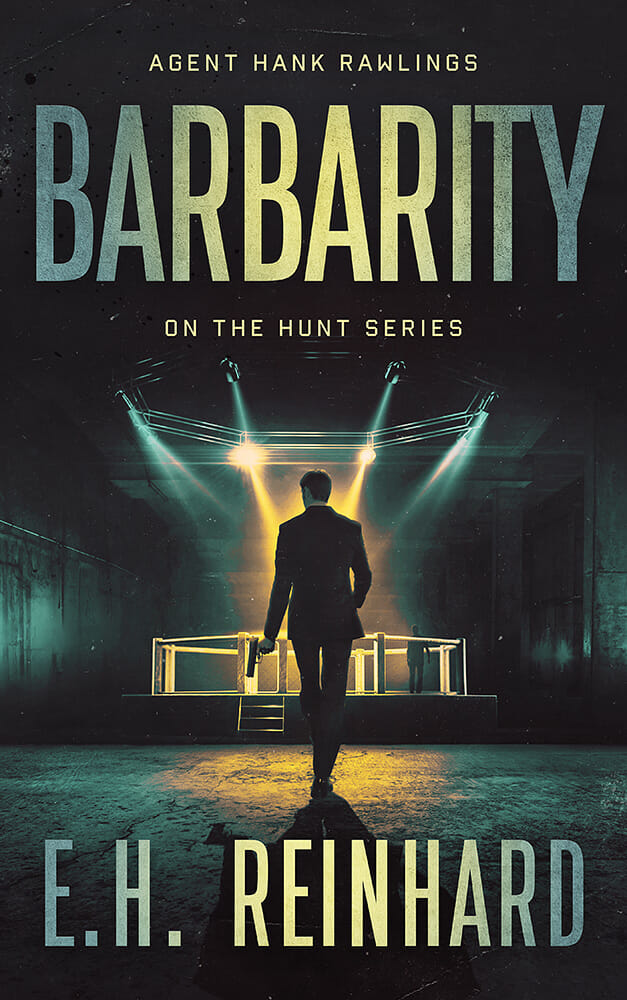
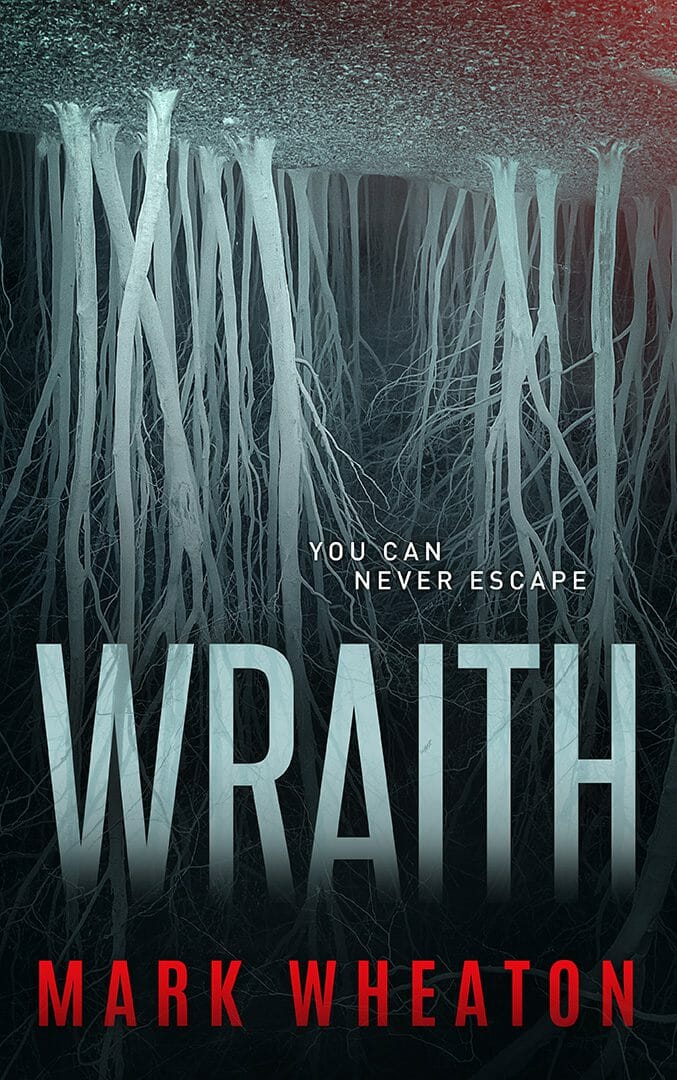
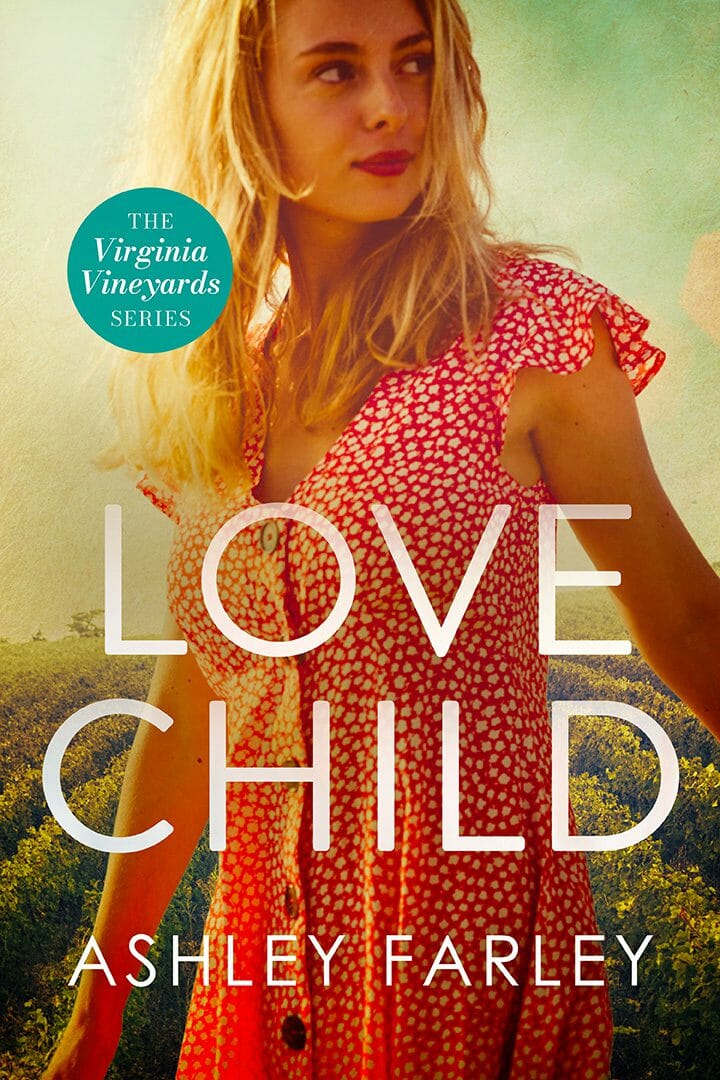
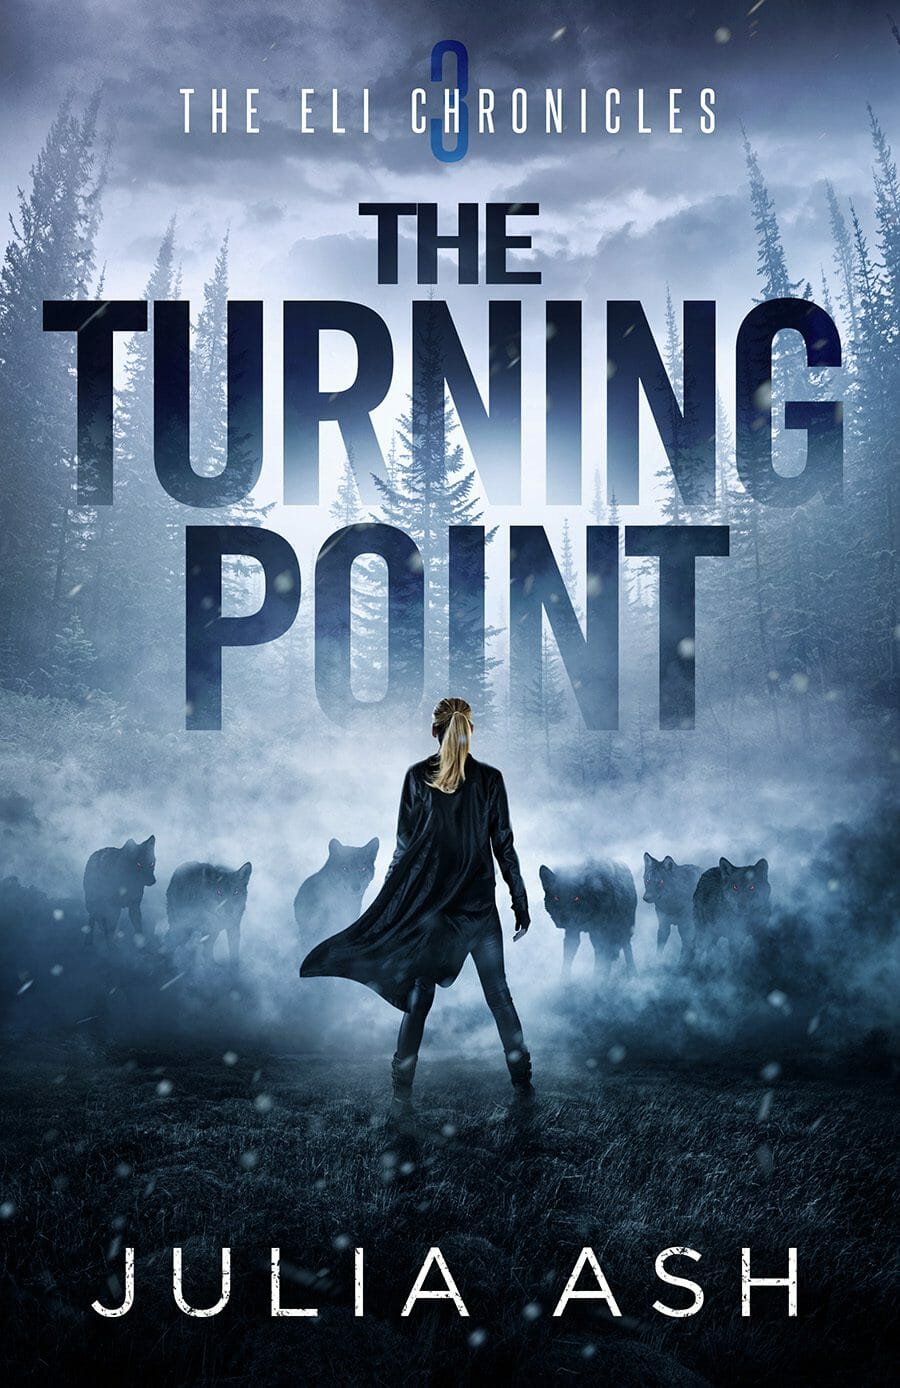
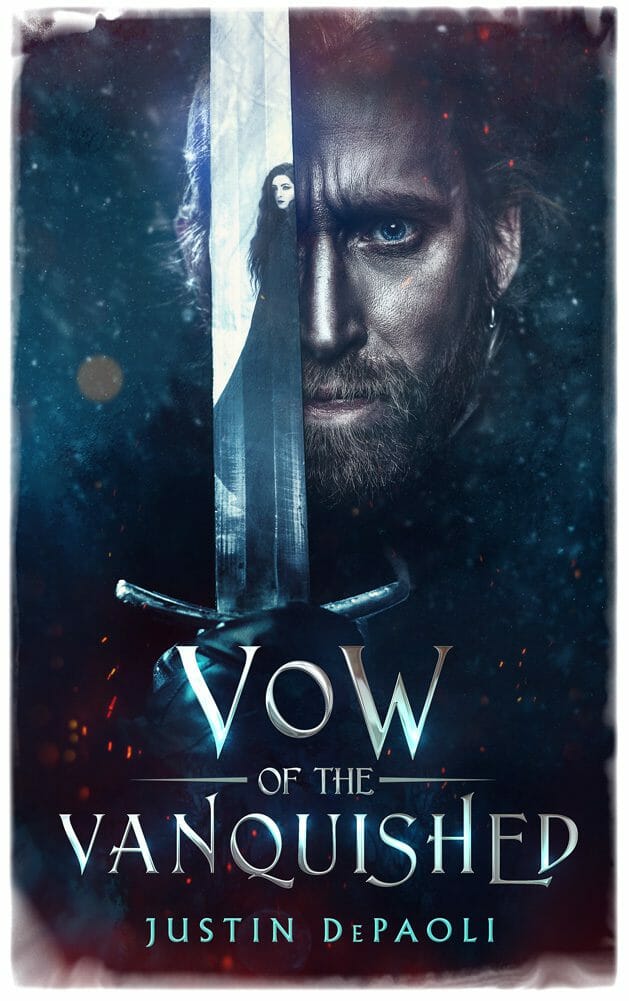
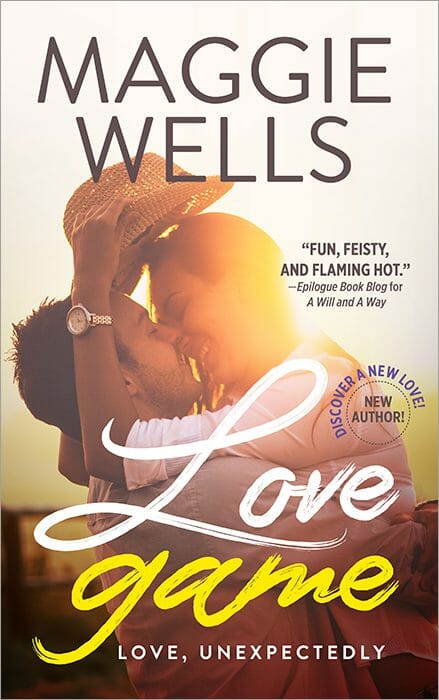
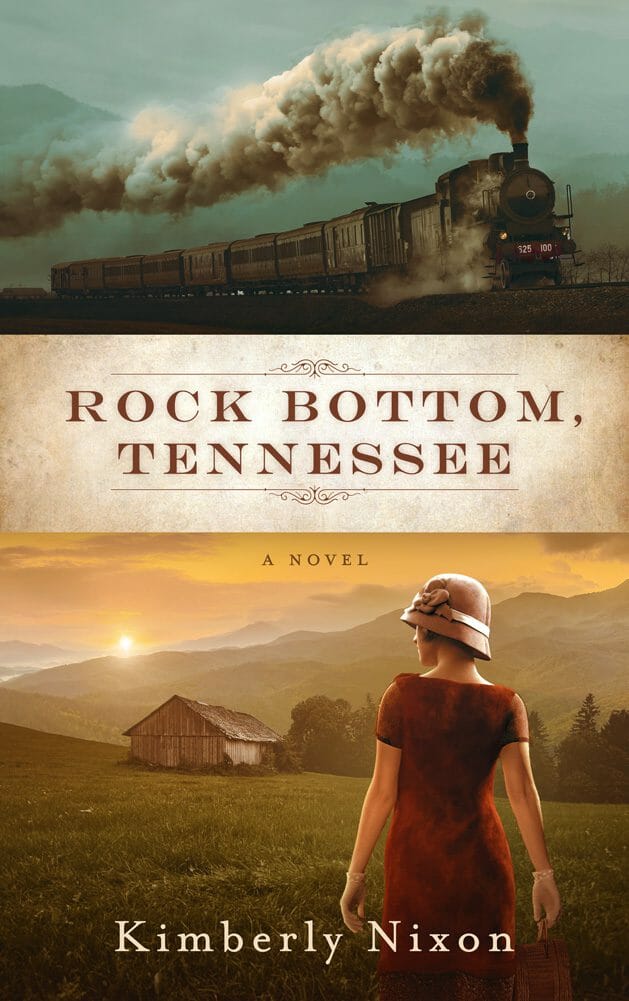
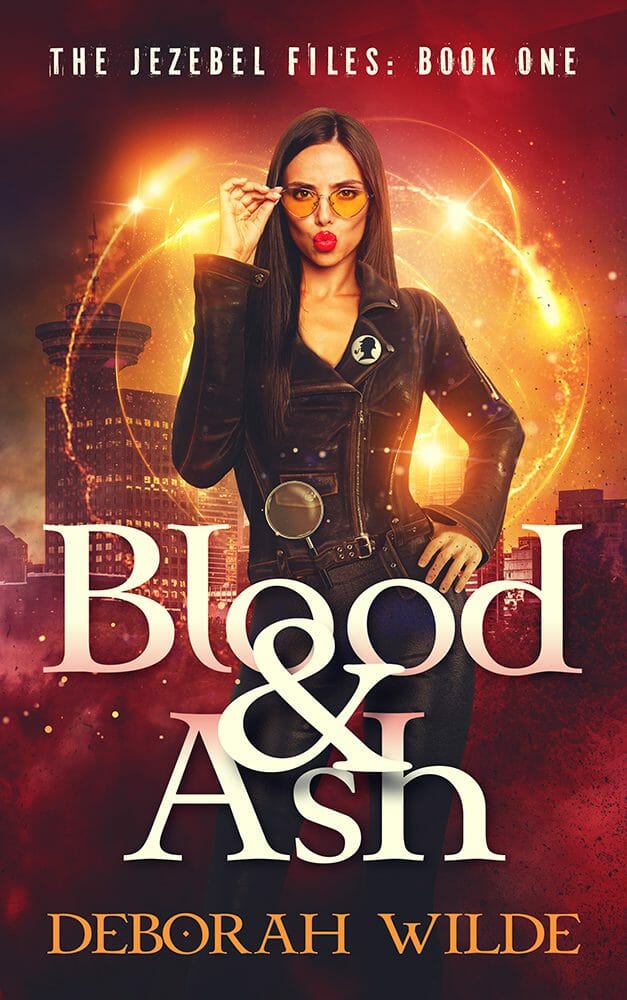
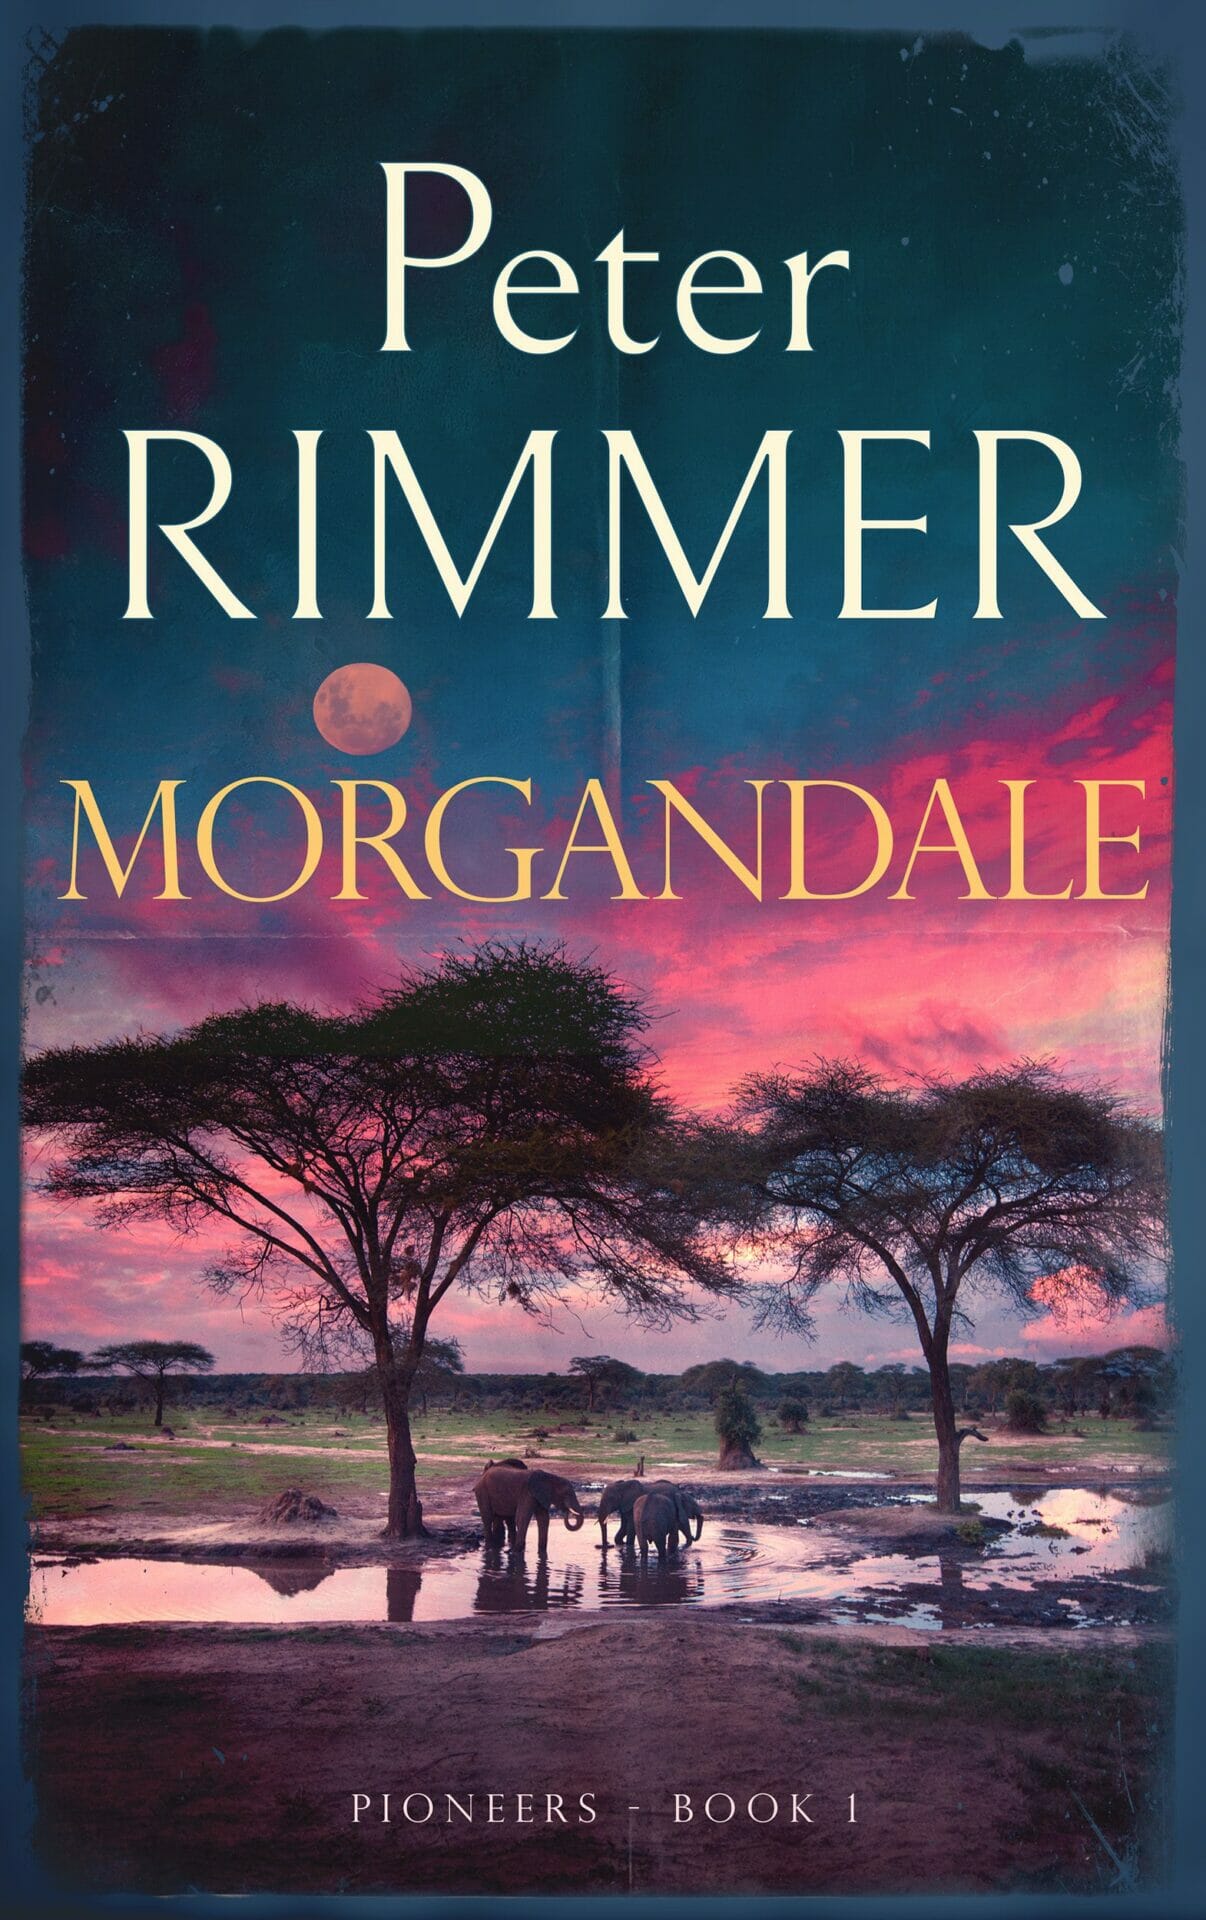
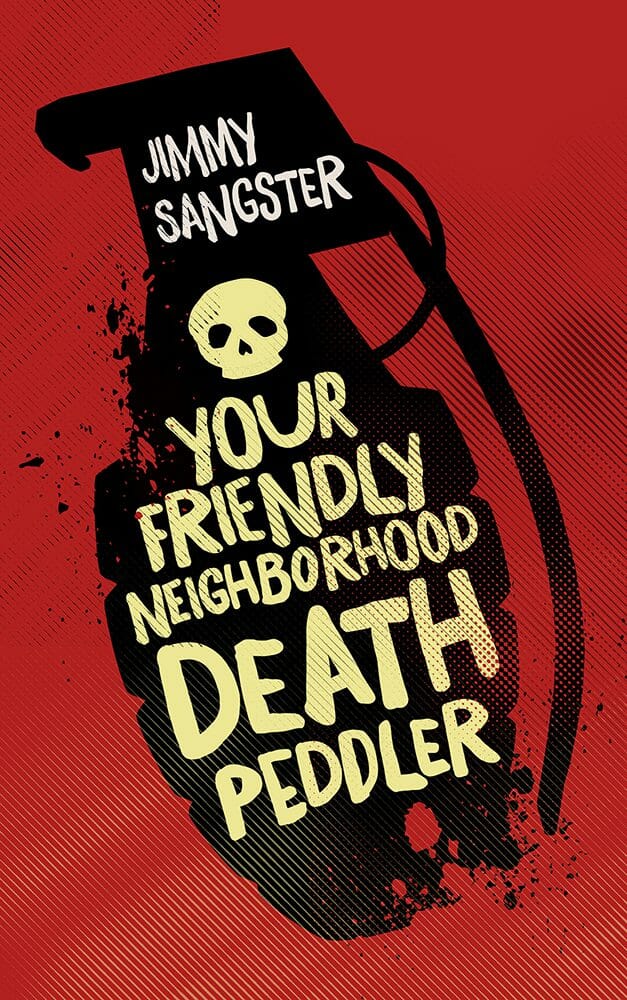
For fiction, this means understanding your genre's conventions and reader expectations. Romance readers expect certain visual cues on a cover. Thriller readers expect others. If your book sits between genres, decide which shelf it belongs on — because readers browse by genre, and bookstores (physical and digital) shelve by category.
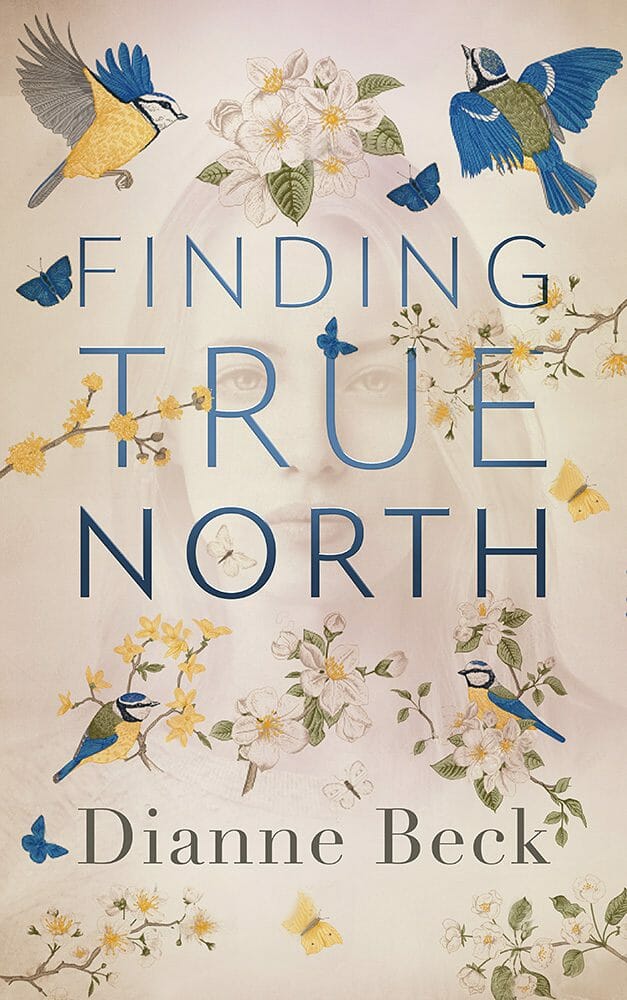
For nonfiction, think about your reader's problem. What question are they Googling? What shelf at the bookstore would they check? Are they beginners or people with some existing knowledge? This affects your title, your cover style, and even your word count.
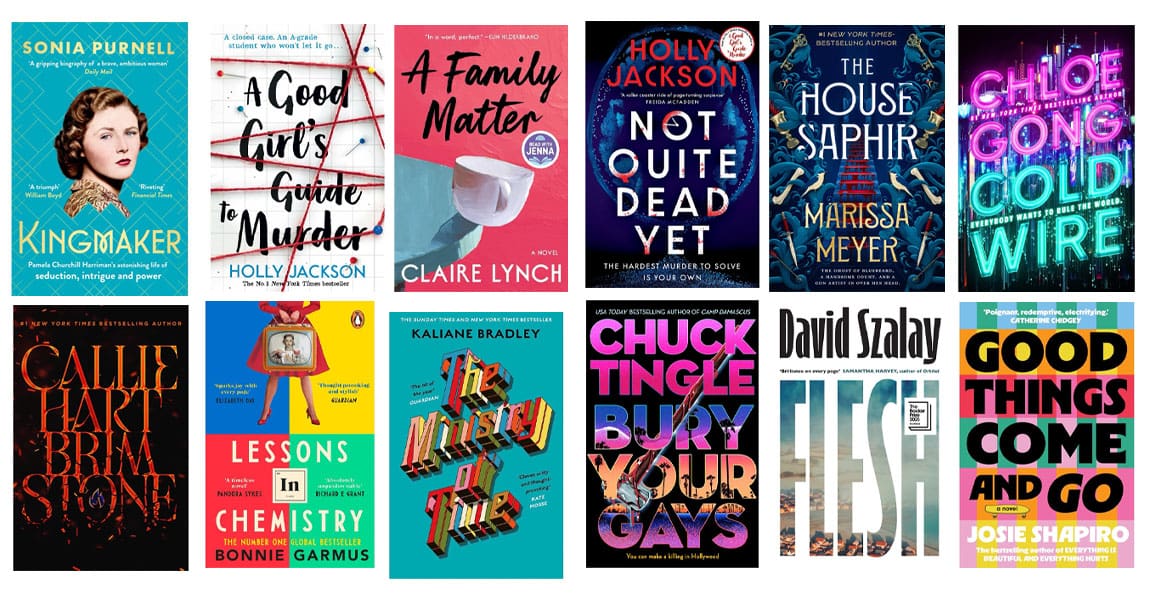
Go to Amazon and find the top 20 books in your category. Study their covers, their descriptions, their pricing, and their reviews. Pay special attention to what readers praise and complain about. This is free market research, and it's gold.
Get a Great Cover
Your cover is the single most important marketing asset your book will ever have. It's the first thing a potential reader sees, and in the Amazon thumbnail-scrolling world, you have about two seconds to make an impression. A professionally designed cover signals "this is a real book" in a way that nothing else can.
There are a few routes you can take:
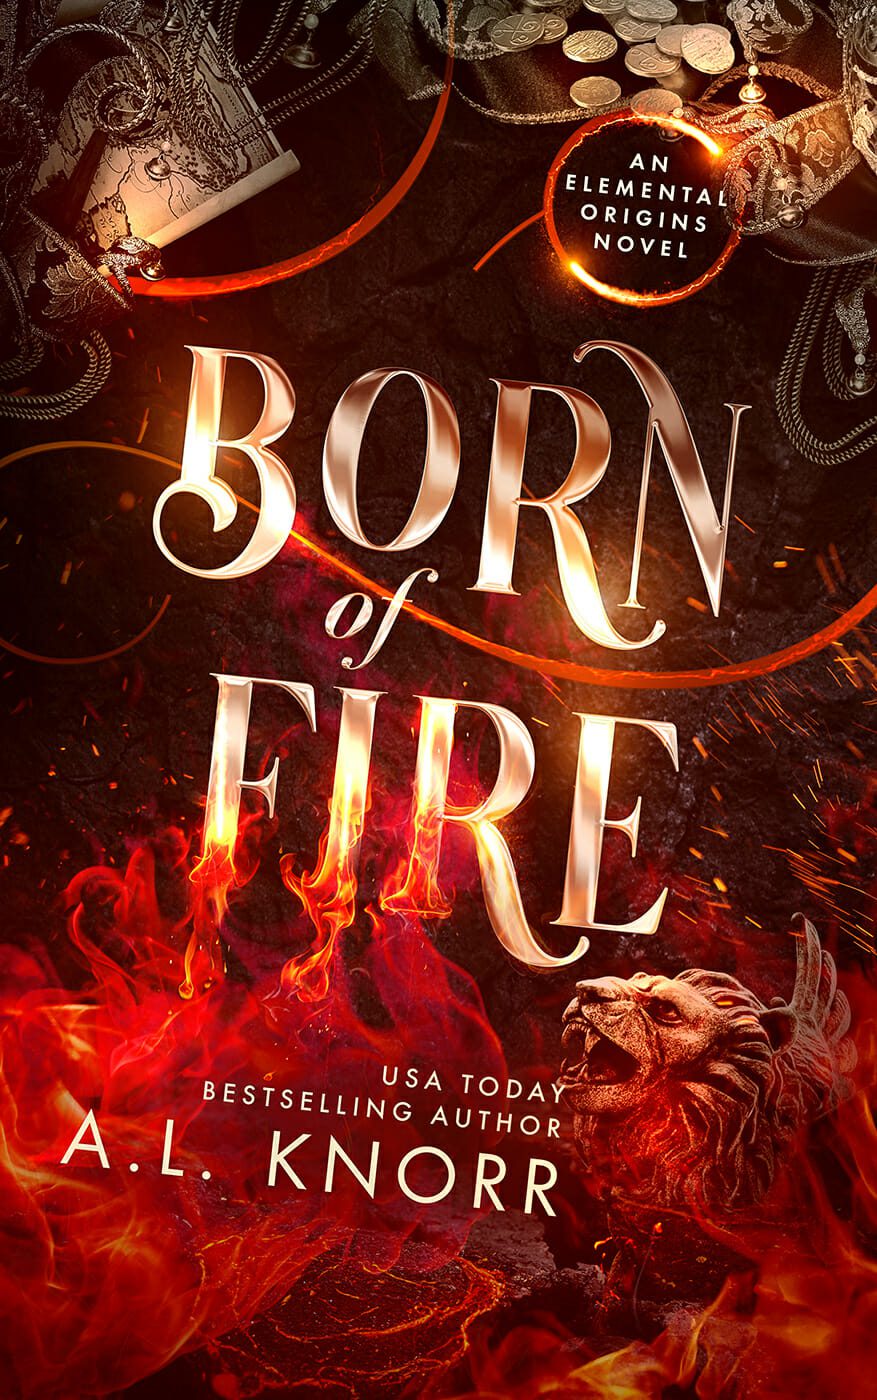
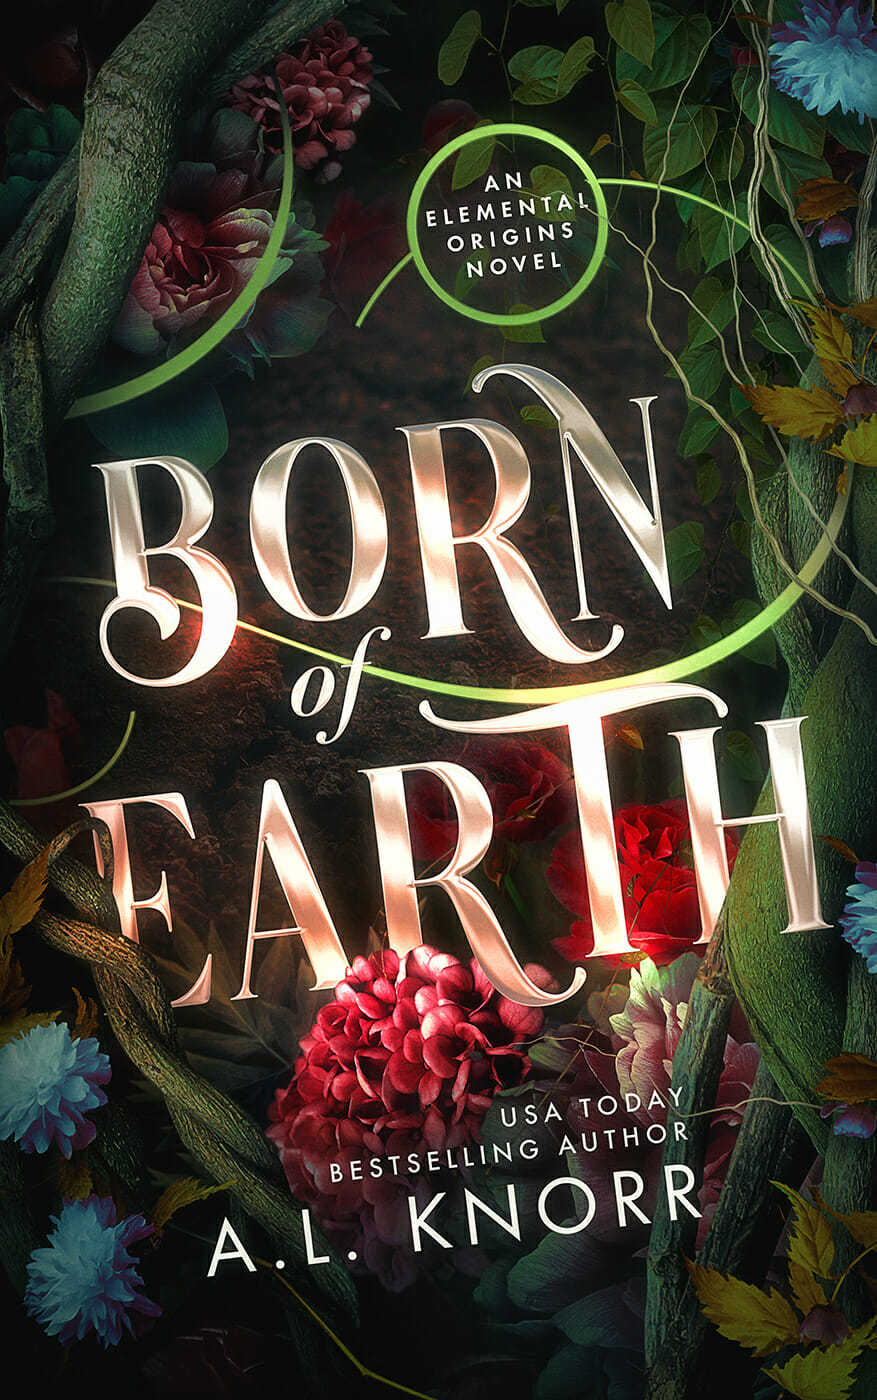
Hire a professional designer. This is the gold standard. A good book cover designer understands genre conventions, typography, and how covers read at thumbnail size. Expect to invest somewhere between $500 and $2,500 for a quality custom cover, though the range varies by genre and complexity. Fantasy and sci-fi covers with heavy illustration tend to cost more; clean typographic nonfiction covers may cost less.
Use a premade cover. Many designers sell pre-designed covers at a lower price point (typically $100–$400). Sites like The Book Cover Designer and GoOnWrite have large selections. The trade-off is less customization, but a good premade cover beats a bad custom one every time.
DIY it (carefully). Tools like Canva have book cover templates. If you go this route, study your genre's top sellers obsessively and keep the design simple. But be honest with yourself: unless you have real design skills, a DIY cover will likely look like a DIY cover.
AI image generators can produce striking artwork, but turning that into a professional book cover still requires design skill — typography, composition, file preparation, and understanding how covers work at thumbnail size. If you use AI art, consider pairing it with a designer who can handle the layout and finishing.
Whichever route you choose, remember: your cover needs to work at 300 pixels wide (that's the Amazon thumbnail). If the title isn't legible and the genre isn't immediately clear at that size, go back to the drawing board.
If you're planning a print edition, your cover file will need a back cover and spine too — and the spine width depends on your page count, which means your interior needs to be formatted before your cover can be finalized. Plan the sequence accordingly.
Format Your Interior
Interior formatting is one of those things readers don't notice when it's done well — but absolutely notice when it's done poorly. Weird spacing, inconsistent fonts, missing page numbers, or clunky chapter headings make a book feel amateurish, even if the writing is strong.
You'll need different formatted files depending on your output:
For ebooks, you'll typically need an EPUB file (and Amazon's KDP will convert it to their format). The key is a "reflowable" layout that looks good on any screen size. Tools like Vellum (Mac only, $250 one-time purchase), Atticus (cross-platform, $150 one-time), or the free Reedsy Book Editor make this quite doable for most authors.
For print, you'll need a press-ready PDF with proper margins, gutters, trim size, bleed (if applicable), and page numbers. This is trickier to get right yourself, especially for nonfiction with tables, images, or complex layouts. Fiction with a straightforward text layout is more forgiving.
Professional interior formatting typically runs $200–$500 for straightforward fiction. Nonfiction with tables, images, charts, footnotes, or complex layouts can run $500–$1,000+, reflecting the significantly greater design work involved. It's a worthwhile investment if your book has anything beyond straight text — or if you simply want the peace of mind that it's done right. Services like Damonza, Reedsy freelancers, and numerous independent formatters can handle this for you.
Get Your ISBN & Set Up Metadata
An ISBN (International Standard Book Number) is the unique identifier for your book. Here's what you need to know:
Do you need one? For ebooks sold exclusively on Amazon, technically no — Amazon assigns a free ASIN. But if you want your print book in bookstores, libraries, or distributed beyond Amazon, you need an ISBN. Many authors get one regardless, as it looks more professional and gives you more control.
Where to get one: In the US, Bowker is the official ISBN agency. A single ISBN costs $125, but a block of 10 costs $295 — much better value if you plan to publish more than one book or format. In the UK, it's Nielsen. In Canada, ISBNs are free through Library and Archives Canada. Other countries have their own agencies.
Free ISBNs from platforms: Amazon KDP and IngramSpark both offer free ISBNs, but there's a catch — they'll be listed as the publisher of record, not you. If you want your own imprint name (even if it's just "Your Name Publishing"), buy your own.
Metadata is all the information that describes your book in databases and on retail sites: title, subtitle, description, categories, keywords, author bio, and more. Take this seriously. Your book description and keyword choices directly affect whether readers find your book in searches.
You need a separate ISBN for each format — one for paperback, one for hardcover, one for ebook (if you choose to ISBN your ebook). Audiobooks use ISBNs or their own identifier depending on the platform. Buy in bulk to save.
Copyright Registration
Your book is technically copyrighted the moment you write it. But registering your copyright with the U.S. Copyright Office gives you important legal protection — it establishes a public record of your ownership, and you'll need it if you ever have to take legal action against someone who copies your work.
Registration costs $65 through the eCO online portal (or $45 if it's a single work by a single author). The process is straightforward: fill out the online application, pay the fee, and upload a digital copy of your manuscript. Processing takes a few months, but your protection is backdated to the filing date. It's a one-time fee per work — no renewals needed.
Register your copyright before or shortly after publication. In the US, registering within three months of publication (or before any infringement occurs) entitles you to statutory damages and attorney's fees in court — a much stronger legal position than registering after the fact.
Library Distribution: CIP, LCCN & PCIP
If you want your book in libraries (especially important for nonfiction authors), you'll want to understand these acronyms:
LCCN (Library of Congress Control Number): A unique number assigned by the Library of Congress that helps libraries catalog and locate your book. Self-published authors can apply for a free LCCN through the PrePub Book Link portal. You must apply before your book is published — LCCNs can't be assigned to books that are already in print. The number goes on your copyright page.
CIP (Cataloging-in-Publication): A block of cataloging data that appears on the copyright page, making it easy for libraries to add your book to their systems. The official CIP Program through the Library of Congress is only available to established publishers (those with at least three titles already acquired by 1,000+ libraries). Self-published authors don't qualify for CIP, but you can get PCIP (Publisher's Cataloging-in-Publication) data through third-party services like Quality Books or Five Rainbows, typically for $100–$200.
Why bother? Having an LCCN and PCIP data on your copyright page signals to librarians that your book is cataloging-ready, which means it gets onto shelves faster. Books without this data can still be purchased by libraries, but they'll need to be cataloged from scratch — which often means they get deprioritized. If library distribution is part of your strategy (particularly for nonfiction, academic, or children's books), these are worth the small investment.
Nonfiction authors benefit most from LCCN and PCIP data, since libraries are a natural market for reference, how-to, memoir, and educational titles. Fiction authors can get these too, but library placement usually depends more on genre demand, reviews, and whether your book shows up in library purchasing databases like Baker & Taylor or OverDrive.
Choose Your Publishing Platform(s)
This is where your book actually goes live. The platform landscape can feel overwhelming, but it really comes down to a few key players:
Amazon KDP is where the majority of ebook sales happen. It handles both ebooks and paperbacks (and now hardcovers). The interface is beginner-friendly, royalties are competitive, and the audience is massive. The trade-off: you're heavily dependent on one retailer. KDP Select (their exclusivity program) gives you access to Kindle Unlimited readers in exchange for selling your ebook only on Amazon.
IngramSpark is the go-to for print distribution to bookstores and libraries. Ingram's distribution network reaches over 45,000 retailers globally. If you want your print book to be orderable by any bookstore in the world, IngramSpark is how you do it.
Draft2Digital distributes ebooks to Apple Books, Barnes & Noble, Kobo, and many other retailers through a single dashboard. Great if you want to go "wide" (non-exclusive) with minimal hassle.
Apple Books and Barnes & Noble Press also allow direct publishing if you prefer to cut out the middleman on those specific platforms.
KDP Select (exclusive) is often a good starting point for first-time fiction authors because Kindle Unlimited can drive early readership and reviews. Going wide makes sense for nonfiction (where readers are less tied to one platform), for authors with an existing audience, or for anyone uncomfortable with Amazon dependency. You can always start exclusive and go wide later.
Many authors use Amazon KDP for ebooks and IngramSpark for print distribution to bookstores. This combination gives you the best of both worlds. Just be careful not to list the same print edition on both platforms with conflicting prices.
Print-on-Demand vs. Offset Printing
Most self-published authors use print-on-demand (POD) through Amazon KDP or IngramSpark, and for good reason: books are printed one at a time as orders come in, so there's zero upfront inventory cost and no risk of unsold boxes in your garage. POD is the right choice for most indie authors, especially when starting out.
But there are situations where offset printing (a traditional print run) makes financial sense:
When offset wins: Once you're printing roughly 400–500+ copies of the same book, the per-unit cost of offset printing drops well below POD — often to $2–$4 per book compared to $4–$8+ with POD. If you're doing a big launch event, fulfilling pre-orders from a crowdfunding campaign, selling at conferences or speaking engagements, or your book has complex color interiors (cookbooks, photography, children's books), offset printing can save you a significant amount per copy.
When POD wins: For ongoing, steady sales where you don't know how many copies you'll need. For testing the market before committing to a big print run. For books you plan to update frequently (you can upload revised files anytime). And for keeping your financial risk near zero.
The hybrid approach: Many successful authors use both — POD for ongoing sales through Amazon and online retailers, and offset for launches, events, and direct sales where the bulk discount makes a real difference. Offset printers like 48 Hour Books, Gorham Printing, Bookvault, and Bookmasters cater specifically to independent publishers.
Understanding Book Distribution
Distribution is how your book gets from the printer to the reader — and understanding the system helps you make smarter decisions about where and how to sell.
Amazon's ecosystem: When you publish through Amazon KDP, your book is available on Amazon's website and fulfilled through their warehouses. This covers the biggest single book retailer in the world, but it's a closed system — KDP print books are only available through Amazon itself.
Ingram's distribution network: IngramSpark connects you to Ingram Content Group, the world's largest book wholesaler. Through Ingram, your book becomes orderable by over 45,000 retailers, including Barnes & Noble, independent bookstores, online retailers, and library systems worldwide. This is the same distribution channel that major traditional publishers use.
Wholesale discounts: Here's where it gets important. When you set up your book on IngramSpark, you choose a wholesale discount — the percentage off your retail price that retailers receive. IngramSpark lets you set this between 40% and 55%. Ingram themselves take a cut (roughly half the discount), and the rest goes to the retailer. If you want bookstores to actually stock your book, a 55% discount is the industry standard. At 40%, retailers can still special-order your book, but they're unlikely to put it on their shelves because the margin is too thin.
Returnability: This is the other big factor for bookstore placement. Physical bookstores operate on a consignment-like model — they expect to be able to return unsold books. IngramSpark lets you make your book "returnable" or "non-returnable." Most brick-and-mortar stores (Barnes & Noble, independents, Books-A-Million) will not stock a non-returnable book. If you make your book returnable, be aware that returns cost you: IngramSpark charges approximately $3 plus the wholesale cost of the book for US returns. The upside is that returns are relatively rare if your book is selling.
Let's say your paperback retails at $15.99. With a 55% wholesale discount, the bookstore pays about $7.20. IngramSpark takes their cut (roughly $2.40), and your print cost might be $4.00. That leaves you roughly $1.80 per sale. It's not a lot, but bookstore placement provides visibility, credibility, and discoverability that can drive sales across all channels. Many indie authors treat bookstore distribution as a marketing expense rather than a profit center.
If you want bookstore distribution but are nervous about returns, start by making your book returnable for an initial period (six months to a year) to establish it in the market, then reassess. You can change your returnability setting in IngramSpark at any time.
Set Your Price
Pricing is part strategy, part math. Get it wrong and you'll either leave money on the table or price yourself out of the market.
Ebook pricing: Most self-published fiction ebooks sell in the $2.99–$6.99 range, with $4.99 being a common sweet spot for novel-length work. Amazon's royalty structure means you earn 70% on ebooks priced $2.99–$9.99, and 35% outside that range. (Note: Amazon adjusted their royalty tiers in 2025, so always check the current KDP pricing page for the latest rates.) Nonfiction ebooks can often command slightly higher prices — $7.99–$9.99 — because readers are buying specific expertise.
Print pricing: Your print price needs to cover your production cost (which depends on page count and trim size) plus your desired royalty. Amazon KDP and IngramSpark both have royalty calculators. A typical paperback novel lands around $12.99–$16.99. Nonfiction, especially with color interiors or larger formats, can go higher.
Before you finalize your price, check what the top 20 books in your specific Amazon category are charging. Price your book within the range readers expect for your genre. Pricing too low can actually hurt you — it signals "amateur" to many readers.
Build a Launch Plan
Publishing a book without a plan to promote it is like opening a restaurant on a backstreet and hoping people wander in. You don't need a massive marketing budget, but you do need a plan. Start building it well before your publication date.
Build an email list. This is the single most valuable marketing asset an author can have. Social media algorithms change, ads get expensive, but your email list is yours. Services like Mailchimp and MailerLite have free tiers that work perfectly for new authors. Offer a reader magnet (a free short story, a bonus chapter, or a useful resource related to your nonfiction topic) to encourage sign-ups.
Set up pre-orders if your platform supports them. Pre-orders count toward your launch-day sales ranking, which boosts your visibility. Amazon KDP, Apple Books, and others allow pre-orders weeks or months in advance.
Line up advance readers. Send free early copies (ARCs — Advance Review Copies) to people who will leave honest reviews around launch day. You can use services like BookSprout or NetGalley, or simply reach out to readers in your genre's communities.
Plan your launch week. Think about social media posts, email announcements, any local events or virtual events, podcast appearances, or guest blog posts. The goal is to generate a concentrated burst of activity in the first week or two — this gives the Amazon algorithm (and other platforms' algorithms) a signal that your book is worth recommending.
Fiction: Focus on genre communities, reader groups (Facebook, Goodreads, Reddit), BookTok/Bookstagram, newsletter swaps with similar authors, and eventually paid ads (Amazon Ads or Facebook Ads once you have a few reviews). Nonfiction: Leverage your expertise — podcast guesting, guest articles, speaking engagements, LinkedIn, and any platform where your target audience hangs out. Your book can be the best business card you've ever had.
Don't wait until launch day to start marketing. Ideally, begin building your platform (email list, social presence, connections with other authors) three to six months before your book goes live.
Promoting Your Book on Social Media
Social media is one of the most powerful (and free) marketing channels for indie authors — but only if you approach it with a strategy. Simply posting "buy my book!" over and over won't work. Here's what does:
Choose your platforms wisely. You don't need to be everywhere. Pick one or two platforms where your readers actually hang out. For fiction, BookTok (TikTok), Bookstagram (Instagram), and Facebook reader groups are the big three. For nonfiction, LinkedIn, YouTube, and Twitter/X are often more effective. Focus on the platform where you can be most consistent rather than spreading yourself thin.
Create a content mix. The best author social media accounts follow roughly an 80/20 rule: 80% valuable, engaging, or entertaining content (writing tips, behind-the-scenes looks, genre discussions, personal stories, reader polls) and 20% promotional content (cover reveals, launch announcements, sale alerts, review quotes). This balance keeps people following you instead of muting you.
Invest in visual content. Social media is a visual-first medium, and your book cover is your single greatest visual asset. Professional-looking social media graphics — quote cards, character art, announcement banners, and animated cover reveals — dramatically outperform plain text posts. Services like Damonza offer social media artwork packs and animated book covers specifically designed for author promotion, giving you a library of eye-catching content ready to post across platforms. Even if you create your own graphics, make sure they're polished and on-brand.
Plan your visual content calendar:
Pre-launch (2–4 weeks before): Teaser images, cover reveal (an animated cover reveal generates far more engagement than a static image), countdown graphics, sneak-peek quotes from the book.
Launch week: "It's live!" announcement graphics, review quote cards, behind-the-scenes photos, short video clips of you with the physical book.
Ongoing: Reader testimonial graphics, themed quote cards, "If you liked X, you'll love my book" comparison posts, seasonal or holiday-themed artwork featuring your cover.
Engage authentically. Comment on other authors' posts. Respond to every reader who mentions your book. Join genre-specific groups and contribute genuinely (not just to promote). Social media algorithms reward engagement, and genuine connections with readers and fellow authors create a network effect that benefits everyone.
Short-form video (TikTok, Instagram Reels, YouTube Shorts) is currently the highest-reach content format on every major platform. You don't need fancy equipment — a smartphone and good lighting are enough. Book unboxing videos, "writing process" clips, and reaction videos to your own reviews all perform well. Pair these with your professional cover graphics for a polished look.
Publish & Think Long-Term
You've done the work. You've clicked "Publish." Congratulations — you're an author. Now take a breath and think about what comes next.
Self-publishing is a long game. Your first book is unlikely to make you rich (very few books do, traditionally or self-published). But it can be the foundation of something that grows over time. Here's what the most successful indie authors do differently:
Write the next book. Seriously. The single best marketing tool for any book is the next book. Series sell better than standalones. Backlists compound. The authors making a sustainable income from self-publishing are almost always prolific. This applies to nonfiction too — a platform with multiple related titles signals authority.
Monitor and adjust. Check your sales data, read your reviews (constructively), tweak your book description, experiment with pricing or categories. Self-publishing gives you the power to iterate — use it.
Consider additional formats. Audiobooks are a growing market. ACX (Amazon's audiobook platform), Findaway Voices, and Google Play all offer paths to audiobook distribution. AI narration is getting better, but a quality human narrator still makes a significant difference for fiction.
Protect your rights. One of the great advantages of self-publishing is that you own everything. Think carefully before signing away any rights. If a traditional publisher or film producer comes knocking someday, you'll be glad you retained control.
Set up an author page on Amazon Author Central and claim your Goodreads author profile as soon as your book is live. These are free and help readers find all your work in one place.
How-To Walkthroughs
Step-by-step guides for the platforms most indie authors use.
Uploading Your Book to Amazon KDP
Amazon KDP handles both ebooks and paperbacks (and hardcovers). The upload process is the same portal for all formats. Here's the walkthrough:
Create your KDP account. Go to kdp.amazon.com and sign in with your existing Amazon account (or create one). Complete your author/publisher profile and tax information. US authors fill out a W-9; international authors complete a tax interview. You'll also set up your bank account for royalty payments. Do this well before your upload day so everything is verified.
Start a new title. From your KDP Bookshelf, click the "+ Create" button and choose your format (Kindle eBook, Paperback, or Hardcover). Each format is a separate listing, so you'll repeat this process for each one.
Enter your book details (Tab 1). This is where you'll provide your book's language, title, subtitle, series info (if applicable), author name, description, and keywords. Your book description is critical — it's your sales pitch. You get up to 4,000 characters. Write it like back-cover copy, not a summary. Use Amazon's basic HTML formatting to add bold text and line breaks. Choose up to three BISAC categories (you can request additional categories later through Amazon support). Select seven keywords — think about what your ideal reader would search for.
Upload your manuscript and cover (Tab 2). For ebooks, upload your EPUB or DOCX file (EPUB is preferred for best results). For print, upload your interior PDF and a separate cover PDF that meets KDP's specifications (including spine width, which depends on your page count — use their Cover Calculator to get the exact template). Choose your print options: trim size, paper color (white or cream), and ink type (black or color). KDP's online previewer lets you check exactly how your book will look — always review it carefully.
Set your pricing and distribution (Tab 3). Choose your territories (most authors select "all territories"). For ebooks, select your royalty plan (70% for books priced $2.99–$9.99, or 35% for books outside that range). Set your list price for each marketplace. For print books, enter your list price and KDP will show your estimated royalty after printing costs. If you're also using IngramSpark for print, be sure your prices match across platforms.
Review and publish. Click "Publish Your Kindle eBook" or "Publish Your Paperback." Your ebook will typically be live within 24–72 hours. Print books may take a few extra days. You'll receive an email when your book is available. Once it's live, order a proof copy of any print editions to check the physical quality before promoting heavily.
Before you publish, consider setting up a pre-order. KDP allows ebook pre-orders up to 12 months in advance. Pre-order sales all count toward your first day's ranking, giving you a bigger launch-day boost. For print books, KDP doesn't offer pre-orders, but IngramSpark does.
Uploading Your Book to IngramSpark
IngramSpark is more involved than KDP, but it opens the door to global bookstore and library distribution. The process is more "publisher-oriented," so expect more detail and stricter file requirements.
Create your account and publisher profile. Sign up at ingramspark.com. You'll need to provide your publisher name (this can be your own imprint or your personal name), tax information, and banking details. IngramSpark occasionally offers promotional codes that waive setup fees — check their website or author communities for current offers before creating your account.
Add a new title. From your dashboard, click "Add a New Title." Choose whether you're setting up a print book, ebook, or both. You'll need your own ISBN for IngramSpark (they don't provide free ones like KDP does).
Enter your book metadata. IngramSpark asks for more detailed metadata than KDP: title, subtitle, contributors, BISAC categories, description, audience, and more. Take your time here — this metadata feeds into Ingram's massive catalog, which is used by bookstores and libraries worldwide. Your BISAC category codes determine where your book appears in databases and on shelves.
Choose your print specifications. Select your trim size, paper type (white or cream/crème, standard or premium), binding (paperback or hardcover, with laminate options for the cover), and ink (black-and-white or color). IngramSpark offers more trim sizes and binding options than KDP, which is one reason publishers use it for specialty formats.
Upload your files. IngramSpark requires PDF files only — no DOCX or EPUB for print. Your interior PDF must be press-ready, and your cover PDF must include front, spine, and back in a single file matching their exact template dimensions. Download their cover template (based on your trim size and page count) to make sure everything lines up. File validation happens automatically — you'll see error messages if anything doesn't meet specifications.
Set pricing, discount, and returnability. Set your retail price for each market. Choose your wholesale discount (55% for full bookstore access, 40% minimum for online-only sales). Decide on returnability (returnable if you want bookstore shelf placement, non-returnable if you only want online availability). Select your distribution territories. See the distribution section above for detailed guidance on these crucial decisions.
Review the eProof and approve. After your files pass validation, IngramSpark will email you when your eProof is ready. Review it carefully — check the cover, spine text alignment, interior formatting, and page breaks. You can also order a physical proof copy (highly recommended for your first book). Once you approve the eProof, your book enters the system and becomes available to retailers. This typically takes 5–7 business days.
IngramSpark's file standards are stricter than KDP's. Files must be press-quality PDFs with proper bleed, embedded fonts, and correct color profiles (CMYK for color print, grayscale for B&W). If you're formatting your own book, use IngramSpark's File Creation Guide as your reference. If you're hiring a formatter, make sure they know you're publishing on IngramSpark — the specs differ from KDP's.
Setting Up Your Amazon Book Page & A+ Content
Your Amazon book page is the most important piece of real estate in self-publishing. Most of your sales will happen (or not happen) based on what readers see here. Here's how to make it work as hard as possible.
Optimizing Your Book Page
Book description. This is your sales page. Write it like compelling back-cover copy — hook the reader with a provocative question or scene, establish the stakes or the value proposition, and end with a reason to buy now. For fiction, create intrigue without spoilers. For nonfiction, emphasize the transformation or outcome the reader will achieve. Use Amazon's HTML formatting (bold, italics, line breaks) to make it scannable. Many successful authors study the descriptions of bestsellers in their genre and model the structure.
Categories and keywords. Your seven KDP keywords and three BISAC categories determine where your book shows up in Amazon's browsing hierarchy. Research what categories your comp titles (comparable books) appear in. Smaller, more specific categories are easier to rank in — being #1 in "Contemporary Small Town Romance" is more achievable and still gives you a "bestseller" tag. You can request up to 10 categories total by contacting Amazon support after publishing.
Author Central profile. Claim your Amazon Author Central page. Add a professional author photo, a compelling bio, and link your blog if you have one. Your Author Central page ties all your books together and appears on each of your book's pages. It's free and takes minutes to set up, but many authors skip it — don't be one of them.
Editorial reviews. You can add editorial reviews (blurbs from other authors, review excerpts, endorsements) to your book page through Author Central. These appear prominently near the top of your listing and add social proof. Even a quote from a respected blogger or fellow author in your genre can make a difference.
Amazon A+ Content
A+ Content (formerly known as "Enhanced Brand Content") lets you add visually rich content to your book's detail page — below the standard description. Think of it as a mini landing page within your Amazon listing: you can include images, comparison charts, custom layouts, and formatted text that go far beyond what a plain-text description allows.
Check your eligibility. A+ Content is available to KDP authors who are enrolled in Amazon Brand Registry. To enroll, you'll need a registered trademark for your author name or publishing imprint. Trademark registration takes several months and costs $250–$350 through the USPTO, so plan ahead if this is something you want.
Access A+ Content Manager. In your KDP dashboard, go to the Marketing tab, scroll to the A+ Content section, choose your marketplace (e.g., Amazon.com), and click "Manage A+ Content." This takes you to the A+ Content Manager where you build your enhanced page.
Build with modules. A+ Content works with a modular system — you pick from template blocks and arrange them. Common modules include: a hero banner image with text overlay, comparison charts (great for series or multiple books), text-and-image combos, and full-width images. For fiction, consider using modules to showcase mood imagery, series order, or reader quotes. For nonfiction, highlight key takeaways, author credentials, or a visual table of contents.
Design your images. A+ Content images need to be high quality and properly sized (Amazon specifies dimensions for each module type). Your images should be consistent with your book's brand — same color palette, fonts, and visual tone as your cover. If you had professional cover artwork done, consider commissioning matching A+ Content graphics from the same designer for a cohesive look.
Submit for review. Once you've built your A+ Content, apply it to your book's ASIN and submit. Amazon reviews all A+ Content for compliance with their guidelines (no external links, no time-sensitive claims, no review quotes in images). Approval typically takes 3–8 business days. Once approved, the content appears below your book description on the product page.
Even if you don't have A+ Content yet, you can still dramatically improve your book page for free. Write a killer description with HTML formatting, add editorial reviews through Author Central, and make sure your categories are specific enough that you can realistically rank in them. These three things alone put you ahead of most self-published books.
Realistic Cost Breakdown
Let's be upfront about money. Here's what a typical first book might cost, depending on how much you do yourself versus outsource:
| Service | DIY / Budget | Professional |
|---|---|---|
| Developmental editing | $0 (skip or beta readers) | $2,000 – $4,500 |
| Copy editing | $200 – $500 (budget editor) | $1,000 – $3,000 |
| Proofreading | $0 – $200 (friends/tools) | $750 – $1,500 |
| Cover design | $0 – $100 (DIY/premade) | $500 – $2,500 |
| Interior formatting | $0 – $50 (Reedsy/Atticus) | $200 – $1,000+ |
| ISBNs (block of 10) | $295 (US) — or free if using platform-issued | |
| Typical total range | $300 – $800 | $2,500 – $5,000+ |
Most authors land somewhere in the middle. You might splurge on a great cover and professional copy editing but format the interior yourself, for example. The key is: don't skip editing and don't skimp on your cover. Those are the two places where cutting corners hurts the most.
Frequently Asked Questions
How long does the whole process take?
From finished manuscript to published book, most authors spend four to seven months. That includes editing (which can take six to twelve weeks), cover design and formatting (two to six weeks), and the publishing/review process on your chosen platform (a few days to a couple of weeks). Don't rush it. A book that launches well is worth a few extra weeks of preparation.
Do I need a business entity or imprint to self-publish?
No, you can publish under your own name. But many authors set up a simple LLC or DBA ("doing business as") for tax purposes and to create an imprint name. An imprint makes your book look more "traditionally published" and gives you more control over your brand. Talk to a tax professional about what makes sense for your situation.
Should I publish on Amazon exclusively or go wide?
There's no single right answer. KDP Select (exclusive to Amazon) gives you access to Kindle Unlimited, which can be a significant source of income for fiction, especially in genres like romance, sci-fi, and fantasy where KU readership is heavy. Going wide (Apple, Kobo, B&N, etc.) diversifies your income streams and reduces Amazon dependency. Many authors start exclusive to build momentum, then go wide once they have a backlist. Nonfiction often benefits from going wide from the start.
What's the difference between self-publishing and print-on-demand?
Self-publishing means you're the publisher — you make all the decisions and keep the rights and (most of) the profits. Print-on-demand (POD) is just a printing method where books are printed individually as they're ordered, rather than in large batches. Most self-publishers use POD technology (through Amazon KDP or IngramSpark), but POD is the printing, not the publishing. Big traditional publishers use POD too.
Can I get my self-published book into physical bookstores?
Yes, but it takes effort. You'll need to use IngramSpark for distribution, set a wholesale discount of at least 55%, and make your book returnable (bookstores are reluctant to stock books they can't return). Even then, shelf space is competitive. Many indie authors have more success with local independent bookstores, where you can build a personal relationship with the owner. Approaching them with a professional-looking book and a consignment arrangement is a common strategy.
How do I avoid publishing scams?
Be wary of any company that charges thousands of dollars upfront and promises to "publish and market" your book. Research every service on Writer Beware (run by the Science Fiction Writers Association) and check the Alliance of Independent Authors watchdog list. Legitimate services charge reasonable rates for specific deliverables. If someone is guaranteeing bestseller status or promising to get you a traditional deal, walk away.
I've published one book already. What should I do differently for book two?
You now have a reader base (even if it's small) and experience. For book two, focus on building your email list from book one's readers, streamlining your production process (you know who you like to work with now), linking your books together through series or thematic connection, and starting your marketing earlier. Also consider updating book one's back matter to point to book two once it's available.
What about AI writing tools? Should I use them?
AI tools can be useful for brainstorming, outlining, drafting marketing copy, or generating book descriptions. Some authors use them as writing aids. However, readers and platforms are becoming increasingly attuned to AI-generated content, and Amazon now requires disclosure of AI-generated material. Use AI as a tool in your toolkit, not as a replacement for your voice. Your readers are buying your perspective, your story, your expertise.
Useful Resources
Bookmark-worthy links for your self-publishing journey.
This guide is brought to you by Damonza — book cover design & interior formatting for independent authors since 2012.
Have questions? We're always happy to help, even if you're doing everything yourself. Get in touch.
